
Jira
Jira by atlassian helps teams manage projects and tasks efficiently, prioritize work, and collaborate.
Grab Credentials
- Log in to your Jira account.
- Navigate to the Jira project you have created.
- Click on your profile picture in the top right corner, and choose
Manage Account. - Go to the
Securitytab and selectCreate and manage API tokens. - Click
Create API Token, provide a descriptive name and click theCreatebutton. - Safely copy the newly generated access token.
Connection Properties
The config section in a YAML file includes the following properties:
connector_name: jira
subdomain: Sub-Domain
email: Email account
api_token: API token
Queries: Queries
Example Configuration
version:
encrypt_credentials: false
plugins:
  extractors:
    - name: jiradb
      connectorname: Jira
      config:
        subdomain: <SUB DOMAIN>
        email: <MAIL ID>
        api_token: <API TOKEN>
      properties:
        # queries: "created >= -30d order by created DESC"
        queries: <QUERY>
Configure the Data Hub to connect Jira
- To start, Click the
smartlife Data Hubicon on the Navigation Pane.
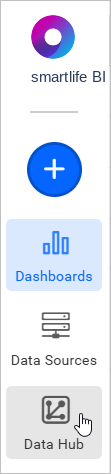
- Click
Add Pipelineand provide the name for the new pipeline.
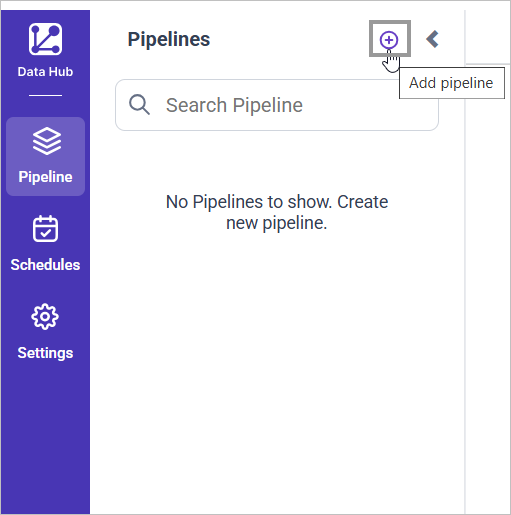
- Select the newly created pipeline and add the
Jiratemplate.
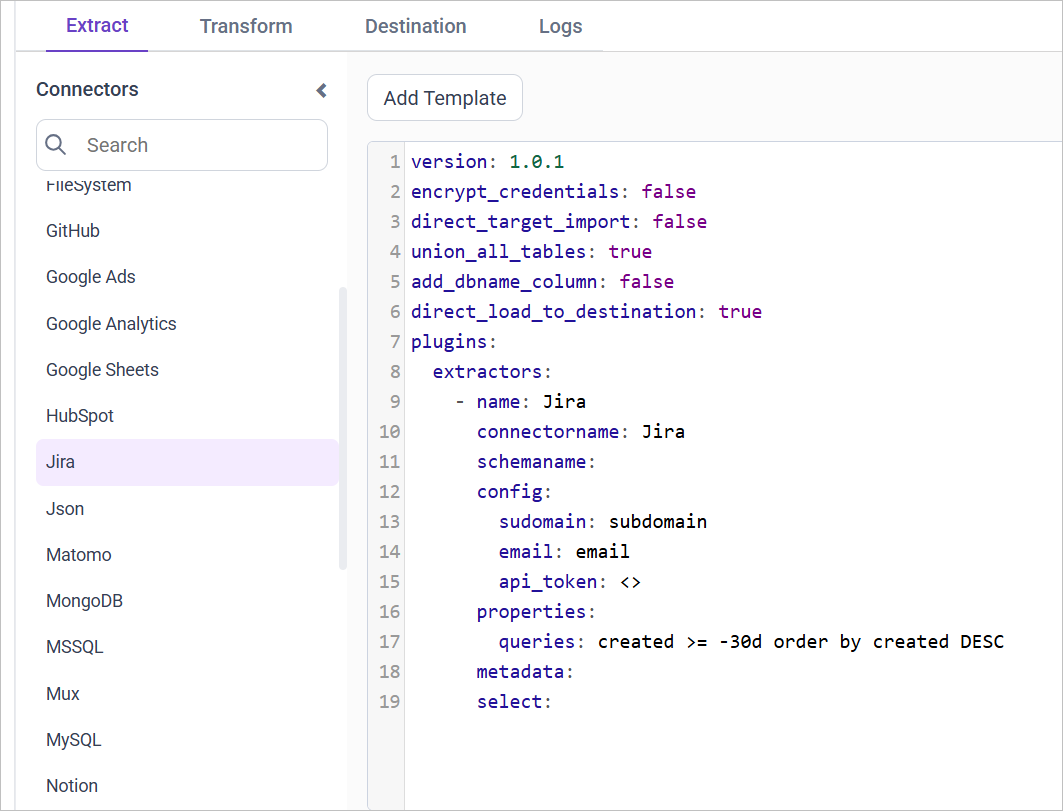
- Update the subdomain, email and API token in the template. Also, Update the resources on the
selectproperty and Click Save, choose the desired destination to save the pipeline.
The available resources are supported in Facebook Ads
- issues
- users
- ad_creatives
- projects - Creating a Pipeline in smartlife Data Hub automatically creates a Data Source in smartlife BI. The smartlife BI Data Source is a live data source to the destination database used in smartlife Data Hub. For more information on the relationship between smartlife Data Hub Pipeline and the associated Data Sources in smartlife BI , please refer to [Relationship between smartlife Data Hub Pipeline and Associated Data Sources in smartlife BI]
Warning:
1. The `Encrypt_Credentials` property should be set to false when updating the new access token on the template. If you have modified other properties, such as 'select' or 'account id', the `Encrypt_Credentials` property must be set to true.
2. The default lifetime of the access token is 1 hour. Therefore, you need to convert it to a long-lived access token in order to use the same token for 60 days. Existing tables should be maintained even if the token has expired or is being used as an invalid token.
Schedule Data Hub Job
- To configure interval-based scheduling, click on the schedules tab and select the created pipeline and click on the schedule icon and configure it.

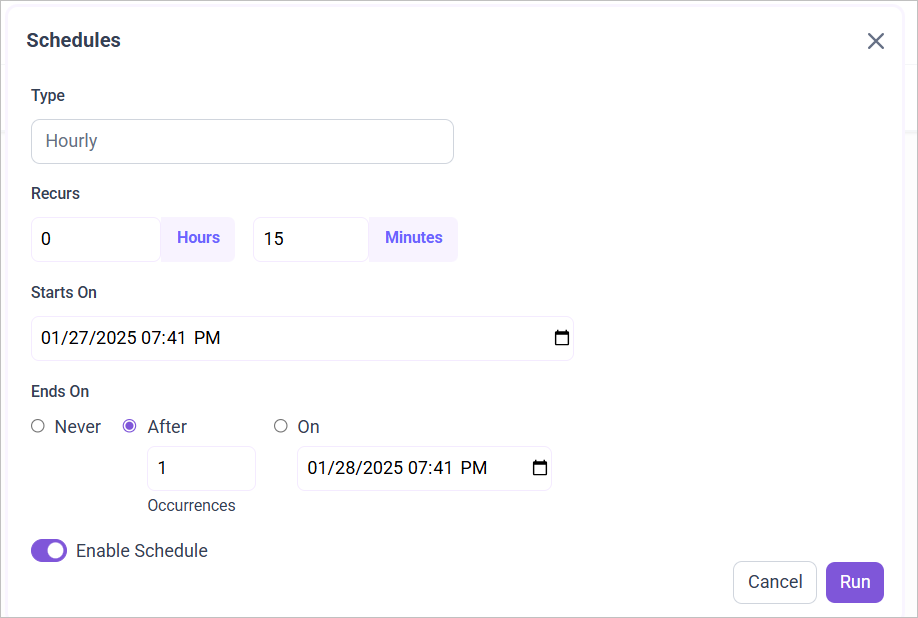
- For on-demand refresh, click
Run Nowbutton.
 .
- The Schedule history can be checked using the history option as well as logs.
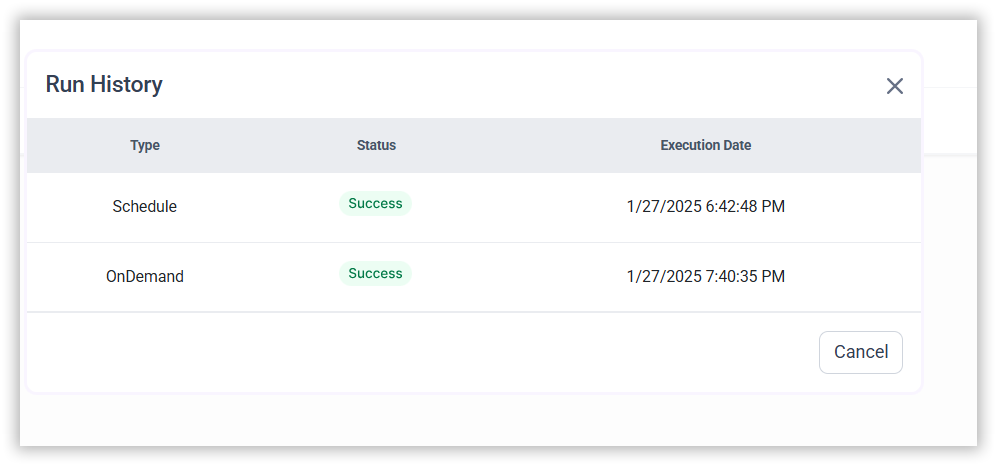
- Click on Logs to see if the run is completed and data source is created in smartlife BI.

- Click
Edit DataSourceOption to view the created tables.